Deprecated: Function create_function() is deprecated in /home/wordpress3themes/public_html/wp-content/themes/minezine/functions/fe/widget-posts-list.php on line 9
admin, Author at WordPress 3 Themes - Page 2 of 20

Author Archive: admin

How to Add Custom Metadata to WordPress Posts

How to Add Custom Metadata to WordPress Posts

In WordPress, metadata refers to information about posts, such as author, date, and category. To enhance content management, you might want to add custom metadata, which introduces unique data fields to posts for improved organization and presentation.

**Benefits of Custom Metadata:**
– **Improved SEO:** Including specific details can boost your site’s SEO.
– **Enhanced User Experience:** Additional information makes content more engaging.
– **Better Content Management:** Custom metadata facilitates efficient organization and retrieval of posts.

**Adding Custom Metadata with WordPress Functions:**
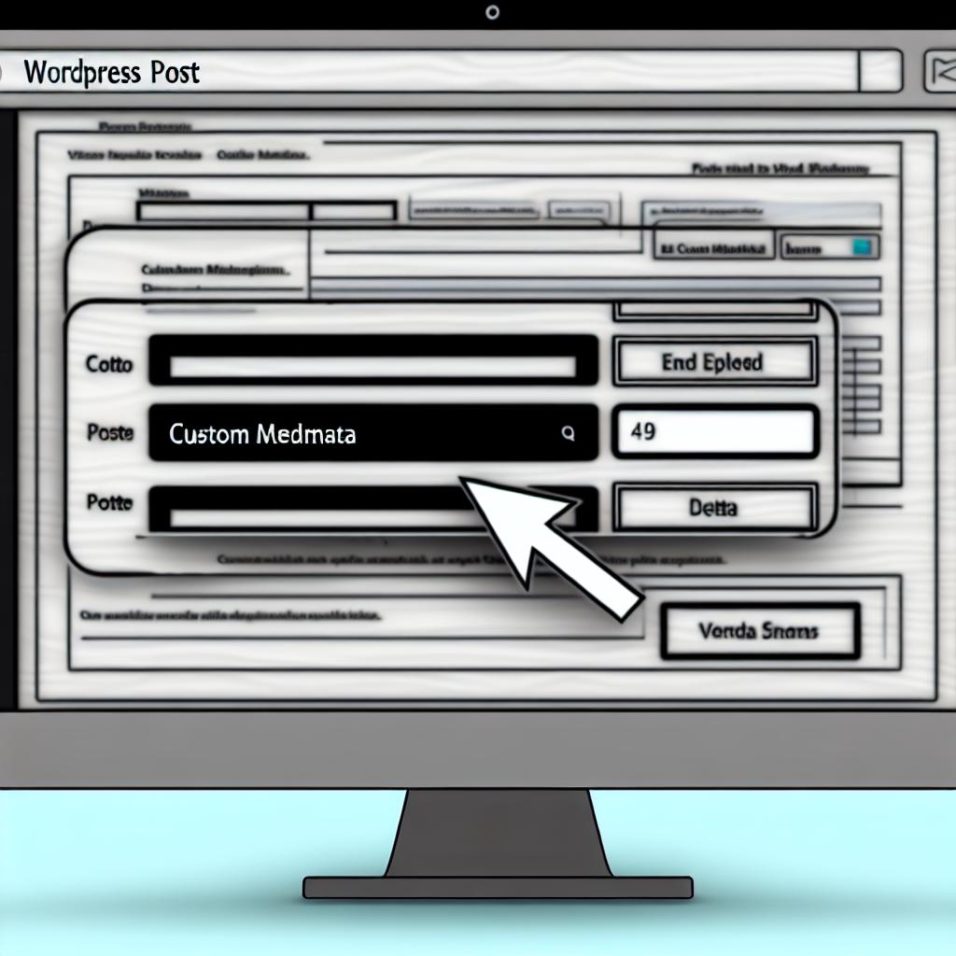
1. **Adding Metadata:** Use `add_post_meta($post_id, ‘your_meta_key’, ‘your_meta_value’, true);` to add new metadata.
2. **Retrieving Metadata:** Retrieve it with `get_post_meta($post_id, ‘your_meta_key’, true);`.
3. **Updating Metadata:** Modify it using `update_post_meta($post_id, ‘your_meta_key’, ‘updated_meta_value’);`.
4. **Deleting Metadata:** Remove it via `delete_post_meta($post_id, ‘your_meta_key’);`.

**Using the Advanced Custom Fields (ACF) Plugin:**
For non-coders, the ACF plugin provides a user-friendly interface for adding custom fields.
– **Installation:** Go to Plugins > Add New, search for “Advanced Custom Fields,” install, and activate.
– **Creating Custom Fields:** Define a Field Group, choose appropriate field types, and assign it to post types.

In conclusion, custom metadata in WordPress enhances functionality and organization, whether through manual coding or using plugins like ACF.

How to Create Conditional Menus in WordPress

How to Create Conditional Menus in WordPress

**Understanding Conditional Menus in WordPress**

Conditional menus in WordPress are dynamic navigational menus that alter based on specific conditions like user roles or page types. This feature enhances user experience by offering personalized navigation.

**Using Plugins for Conditional Menus**

To implement conditional menus without coding, you can use plugins such as **Conditional Menus** by Themify. After installing and activating the plugin, go to **Appearance > Menus** in your WordPress dashboard. Here, you can assign different conditions — such as user roles or page types — to your menus.

**Creating Conditional Menus With Custom Code**

For those with a basic understanding of PHP, creating conditional menus through custom code offers greater control. This involves modifying the theme’s `functions.php` file. For example, to differentiate menus for logged-in versus non-logged-in users, you can use a simple conditional statement within your file. Additionally, you’ll need to register multiple menus in `functions.php`.

**Testing and Final Adjustments**

After setup, thoroughly test conditional menus by checking different user roles and device compatibility to ensure everything works seamlessly. Always consider a staging environment to test changes before live implementation. Using WordPress hooks and filters can further refine menu conditions, helping to create a more tailored user experience.

How to Integrate WordPress with Zapier

How to Integrate WordPress with Zapier

Integrating WordPress with Zapier can greatly enhance workflow efficiency by automating various tasks. Zapier serves as a connector between WordPress and more than 2,000 applications, ensuring smooth data exchange. This guide outlines the steps to integrate WordPress with Zapier.

### Requirements
To get started, ensure you have a WordPress website with admin access, a Zapier account, and necessary plugins for functions like REST API or webhooks.

### Step-by-Step Integration

**Step 1: Install Necessary Plugins**
– Go to your WordPress dashboard, select **Plugins** > **Add New**, and search for a Zapier-compatible plugin like *WP Webhooks* or *WPForms*. Install and activate the plugin.

**Step 2: Set Up API or Webhooks**
– Depending on your plugin, you may need an API key or webhook URL. Access the plugin settings to generate these.

**Step 3: Create a Zap**
– Log into Zapier, click on **Create Zap**, and select WordPress as the trigger app. Choose events such as *New Post* or *New Comment* and connect your WordPress account using your site URL and the plugin-generated API key. Test the connection.

**Step 4: Choose an Action App**
– After setting the trigger, pick an action app from Zapier, which could involve sending an email through Gmail or posting to Slack. Enter the necessary credentials and configure the action steps.

**Step 5: Test Your Zap**
– Test the Zap to confirm it functions correctly, then activate it if successful.

### Conclusion
Integrating WordPress with Zapier streamlines task management, allowing focus on content creation. Regularly review your Zaps for performance optimization. For detailed guidance, refer to the [Zapier Help Center](https://zapier.com/help).

How to Add a Table of Contents to WordPress Posts

How to Add a Table of Contents to WordPress Posts

Incorporating a Table of Contents (TOC) in your WordPress posts can significantly enhance readability and improve user experience by allowing readers to navigate to relevant sections quickly. It also aids search engine optimization (SEO) by clarifying the content structure to search engines. For ease of implementation, using plugins like Easy Table of Contents or Table of Contents Plus is recommended, offering features like automatic insertion and customization options to match your theme. Alternatively, a TOC can be manually created using anchor links in HTML. Further customization with CSS is possible, ensuring the TOC complements your branding without overwhelming users. Regular updates are necessary if content changes frequently. Overall, a TOC enhances both usability and SEO, tailoring navigation to meet audience needs effectively.

How to Fix WordPress Permalink Issues

How to Fix WordPress Permalink Issues

In the article “Understanding WordPress Permalinks,” the author outlines the importance of permalinks in improving site SEO and user experience. The article offers troubleshooting steps for common permalink issues like broken links or unexpected URL structures. Key solutions include checking and adjusting permalink settings in the WordPress dashboard, resetting permalinks, reviewing the .htaccess file for correct rules, and deactivating plugins to identify conflicts. Additionally, it suggests checking for theme conflicts by switching to a default theme and advises contacting the hosting provider if issues persist. The piece also provides resources for further information, such as the WordPress Codex and WordPress Stack Exchange.

How to Use Query Monitor to Debug WordPress Performance

How to Use Query Monitor to Debug WordPress Performance

WordPress is a popular content management system, but its performance can occasionally suffer. Identifying slowdown causes is easier with tools like the Query Monitor plugin, which aids in debugging and analyzing website components. After installing and activating the plugin via the WordPress dashboard, users can access a variety of performance metrics directly from the admin bar. Query Monitor provides insights into PHP errors, database queries, hooks, and script/styles, offering detailed views such as the count and duration of database queries and PHP error warnings. It also shows how scripts and styles affect page loading times. Using this data, developers can optimize slow queries, resolve PHP errors, and improve script loading for better performance. Overall, Query Monitor serves as a comprehensive tool for enhancing WordPress site efficiency.

How to Create a Private WooCommerce Store in WordPress

How to Create a Private WooCommerce Store in WordPress

In this guide, we explore creating a private WooCommerce store in WordPress to offer exclusive products or services to a select audience, such as members, wholesalers, or employees. To begin, ensure you have a self-hosted WordPress site with the WooCommerce plugin installed. Start by installing a privacy plugin like Members to control user access by managing roles and restrictions. Configure these roles to define who can access your store, and restrict specific WooCommerce pages accordingly. Finally, test the setup by verifying user access permissions across different roles. For more detailed information, consult the WooCommerce Documentation.

How to Add a Custom Logo to Your WordPress Admin Dashboard

How to Add a Custom Logo to Your WordPress Admin Dashboard

In order to enhance brand identity and professionalism, adding a custom logo to your WordPress admin dashboard can be a valuable customization. This guide outlines methods for achieving this, whether through a plugin or by manually adding code.

### Why Add a Custom Logo?

A personalized logo can reinforce brand identity, enhance professionalism, and improve user experience for those managing your site.

### Methods to Add a Custom Logo

#### Using a Plugin
1. Install and activate the [WP Custom Admin Interface](https://wordpress.org/plugins/wp-custom-admin-interface/) plugin.
2. Go to **Settings > Custom Admin Interface**.
3. Upload your desired logo image.
4. Save changes to apply.

#### Using Code
1. Open the `functions.php` file in your theme’s directory.
2. Add the specified code to replace the default WordPress logo with your own.
3. Ensure your logo image is correctly placed in your theme’s directory and save changes.

Adding a custom logo is a simple yet effective way to align your WordPress admin dashboard with your brand’s identity.

How to Fix Broken Links in WordPress

How to Fix Broken Links in WordPress

**Excerpt from “Understanding Broken Links”**

Broken links are URLs on your WordPress site that lead to non-existent web pages, negatively impacting user experience and SEO. Common causes include deleted pages, moved content, and external site changes. To identify broken links, use the “Broken Link Checker” plugin or online tools like “Dead Link Checker.”

To fix broken links, update the link if the content still exists, remove irrelevant links, or use a 301 redirect for permanently moved content, utilizing plugins such as “Redirection.” Regular checks and setting up redirects when moving content can prevent future issues. Additional tools like “Yoast SEO” and “Screaming Frog SEO Spider” further aid in managing URLs. By addressing broken links, you maintain a healthy and accessible WordPress site.

How to Limit Login Attempts in WordPress

How to Limit Login Attempts in WordPress

In the realm of website security, protecting your WordPress site from unauthorized access is essential. One effective strategy to bolster security is by limiting login attempts, a method that prevents brute force attacks where automated tools attempt to guess login credentials. By default, WordPress permits unlimited login attempts, which attackers can exploit. Limiting these attempts not only strengthens security but also conserves server resources, helping to maintain site performance.

An easy approach to implement this is by using plugins. “Limit Login Attempts Reloaded” is a popular choice that you can install from the WordPress dashboard. Once activated, you can configure the number of retries allowed and set lockout durations. Another option is the “WP Cerber Security” plugin, which offers similar features to secure login attempts.

Through the use of these plugins, you can effectively enhance your site’s protection against unauthorized access, ensuring a more robust security posture. Regularly updating and reviewing plugin settings is vital to maintaining optimal security.